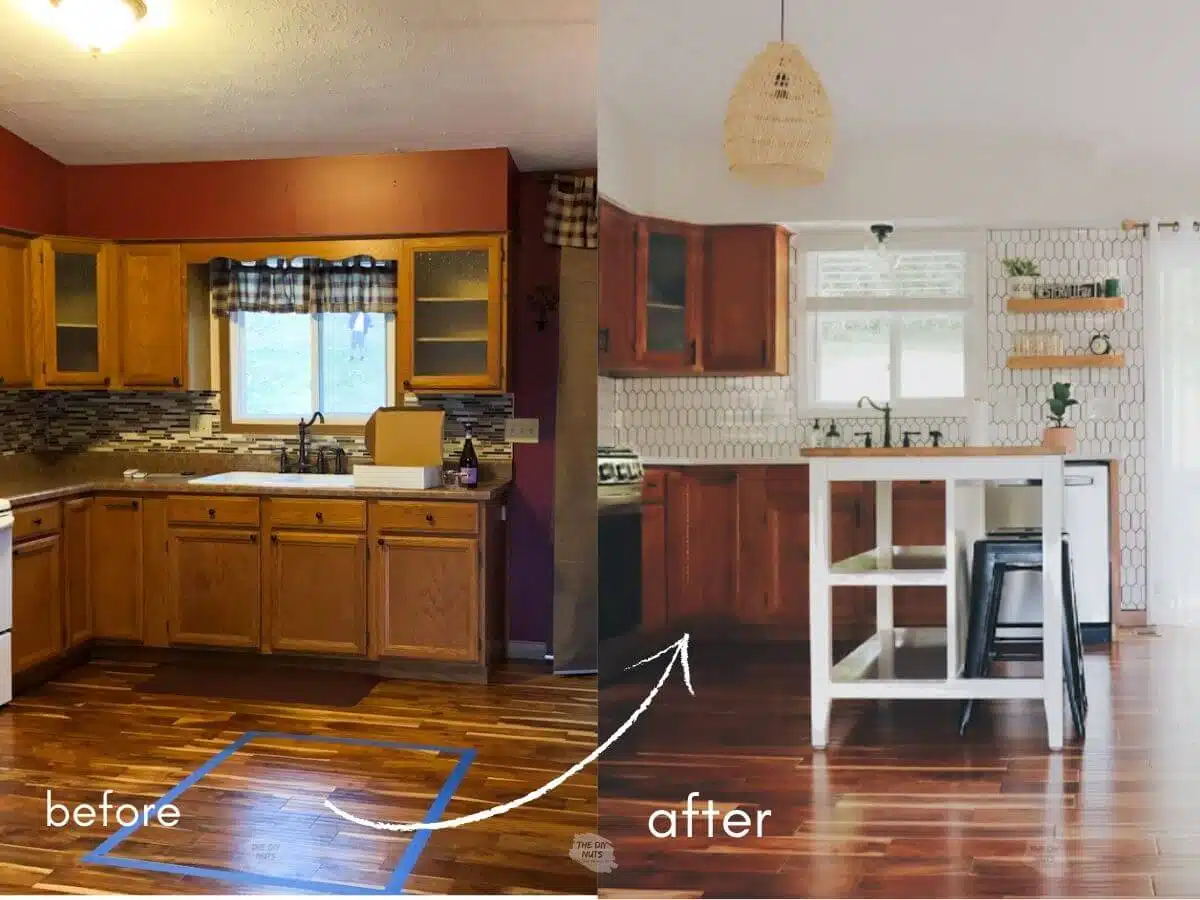
When it comes to kitchen cabinet refinishing companies, adding molding can be the finishing touch that elevates the overall look and transforms the appearance of your cabinets. Molding adds a decorative element, enhances the style of the cabinets, and provides a polished and cohesive finish. Here’s how to incorporate molding into your kitchen cabinet refinishing project:
- Choose the right molding: There are various types of molding available, each offering different styles and profiles. Consider the overall design and aesthetic of your kitchen when selecting the molding. Popular options for cabinet refinishing include crown molding, light rail molding, and base molding. Choose a molding style that complements the existing cabinetry and the overall theme of your kitchen.
- Measure and plan: Take accurate measurements of the areas where you plan to install the molding. Measure the length and width of the cabinet surfaces where the molding will be applied. Additionally, consider the corners and angles of the cabinets to ensure precise cuts and a seamless installation. Plan out the placement of the molding, taking into account the desired look and any design elements you wish to emphasize.
- Prepare the molding: If your molding is unfinished or in a different color, you may need to paint or stain it to match the existing cabinet finish. Follow the manufacturer’s instructions for the appropriate paint or stain application. Allow the molding to dry completely before installing it on the cabinets.
- Cut the molding: Use a miter saw or a coping saw to cut the molding at the appropriate angles and lengths. Take care to make accurate cuts to ensure a tight fit and clean corners. It’s recommended to label each piece of molding according to its intended location to avoid confusion during installation.
- Install the molding: Apply a small amount of wood glue or construction adhesive to the back of each piece of molding. Carefully place the molding in position, ensuring it is aligned correctly and adheres securely to the cabinet surface. Use finishing nails or a pneumatic nail gun to secure the molding in place. Counter-sink the nails slightly and fill the holes with wood filler for a seamless finish.
- Finishing touches: After the molding is installed, fill any gaps or seams between the molding and the cabinet surface with caulk or wood filler. Smooth out the filler with a putty knife and allow it to dry. Sand the filled areas lightly to create a smooth and even surface. Finally, touch up the molding with paint or stain to match the surrounding cabinets if needed.
Adding molding to your kitchen cabinet refinishing project can create a more custom and upscale look, giving your cabinets a distinct and stylish appearance. It’s important to pay attention to detail and ensure precise measurements and cuts for a professional finish. If you’re unsure about the installation process or want to achieve the best results, consider hiring a professional carpenter or cabinet refinishing service to handle the molding installation for you.